Piping Tutorial
How to make your own and how to use it
I LOVE piping! It just adds a little extra to many designs, makes a retro look, just how I like it. And you can put it between any two pieces of fabric you sew together. Since I'm so glad I discovered it I want to share my rather knew knowledge with you.
You need:
- fabric of your choice, cut into 2.5 cm wide strips. If you use wovens: cut it on the bias, elastics any way you want.
- some 2 mm polyester cord (you can of course use thicker cord if you want the piping to be wider.

 Cut your fabric into strips in a 45 degree angle to the edges.
I bought the cord in a DIY store (cheap!).
Make piping


Press seams open.

Put the cord in the middle of the strip and sew right next to the cord.
There are special piping feet for sewing machines, but your zipper foot
(as used here) works just fine!

Your piping is now ready for use!
Pockets with piping
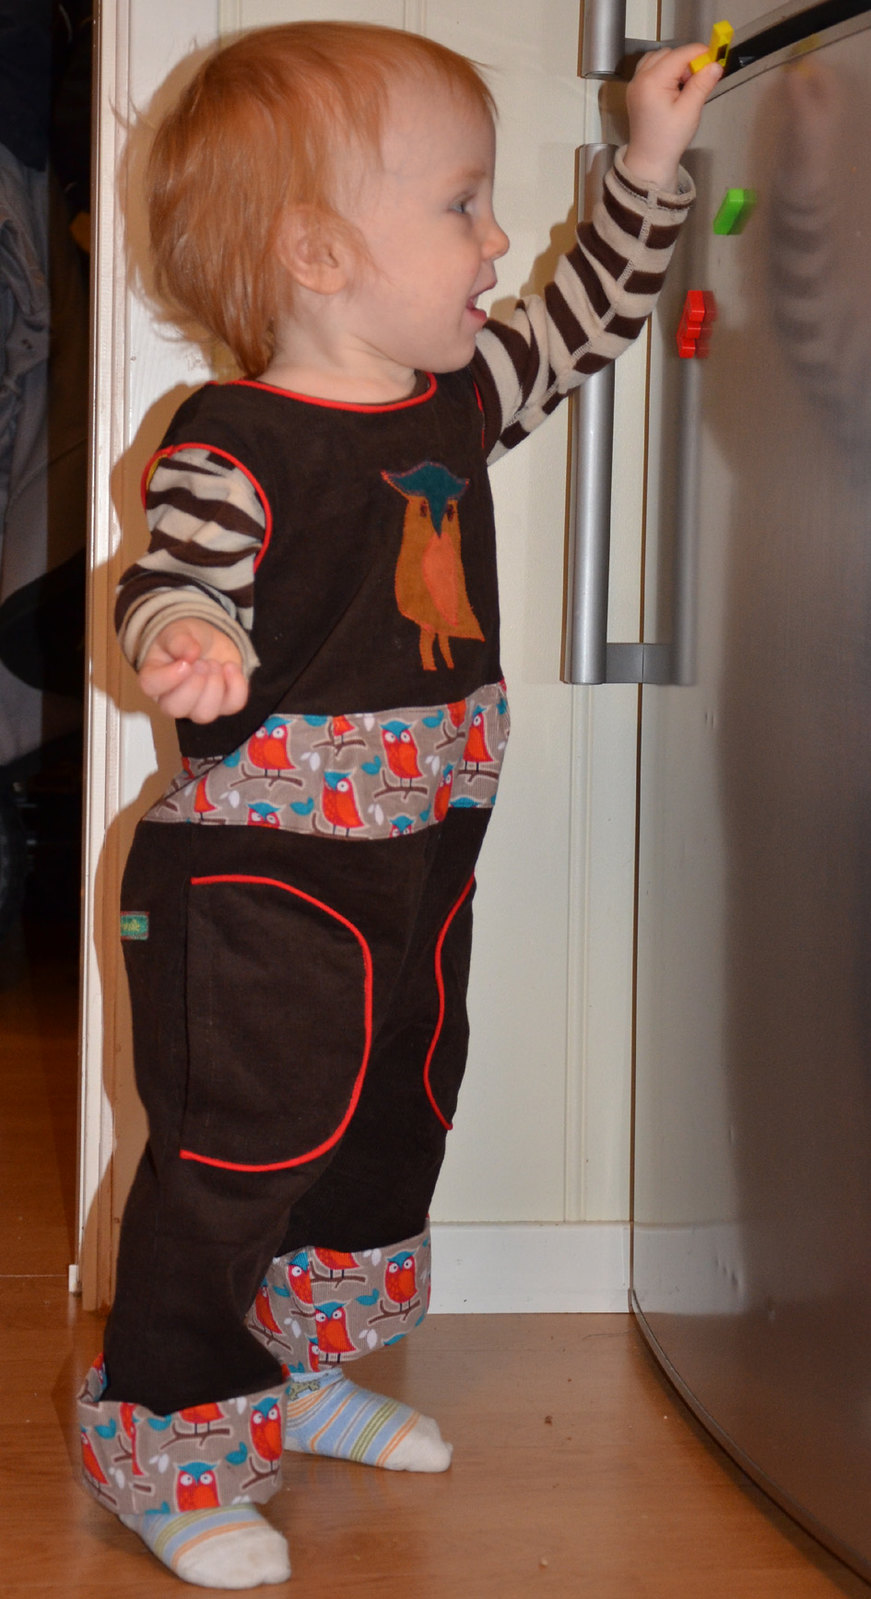
I cut out two half circles (well, roughly), the size you want the pockets to be plus 1 cm seam allowance where the piping is going to be and 2 cm on the straight edge.
Finish the straight edge (use a zigzag seam or a serger).

Stitch the piping to the edge of the right side of the pocket. Stitch close to the cord in your piping using your zipper foot (or piping foot if you have one).


Stitch the pockets to your trousers after you have closed the side seam. Use your zipper (piping) foot and stitch as close to the cord as possible.
Piping between two pieces of fabric/ piping edges


Turn and press (edges) or press fabrics apart the way they are supposed to be and topstitch close to the cord (edges) or about 0.5 cm from it to secure the seam allowances.

Så kjekt at du lagar tut!
SvarSlettEg har ikkje brukt biseband før no i haust, og vart nesten litt overraska over kor lettvindt det var :)
Takk for flotte tips! Dette må jeg prøve!
SvarSlettTusen takk.Har brukt det for veldig mange år siden, men egentlig glemt det...
SvarSlettFlott tut!
SvarSlettTusen takk for hyggelige tilbakemeldinger!
SvarSlettKjempebra tut! Hvor kjøpte du anorakksnoren? Så jo veldig handy ut å ha en så stor rull. :-)
SvarSlettTakk :)
SlettKjøpte snor i ulike tykkelser hos Coop Byggmix - mye billigere enn anorakksnor :)
Takk for fin veiledning! Akkurat det jeg så etter. :) I oppskriften min, står det at remsen skal brettes dobbelt etter at jeg har sydd inntil snoren, og det blir jo veldig smalt, så jeg følger din måte å gjøre det på.
SvarSlettHilsen Lisa